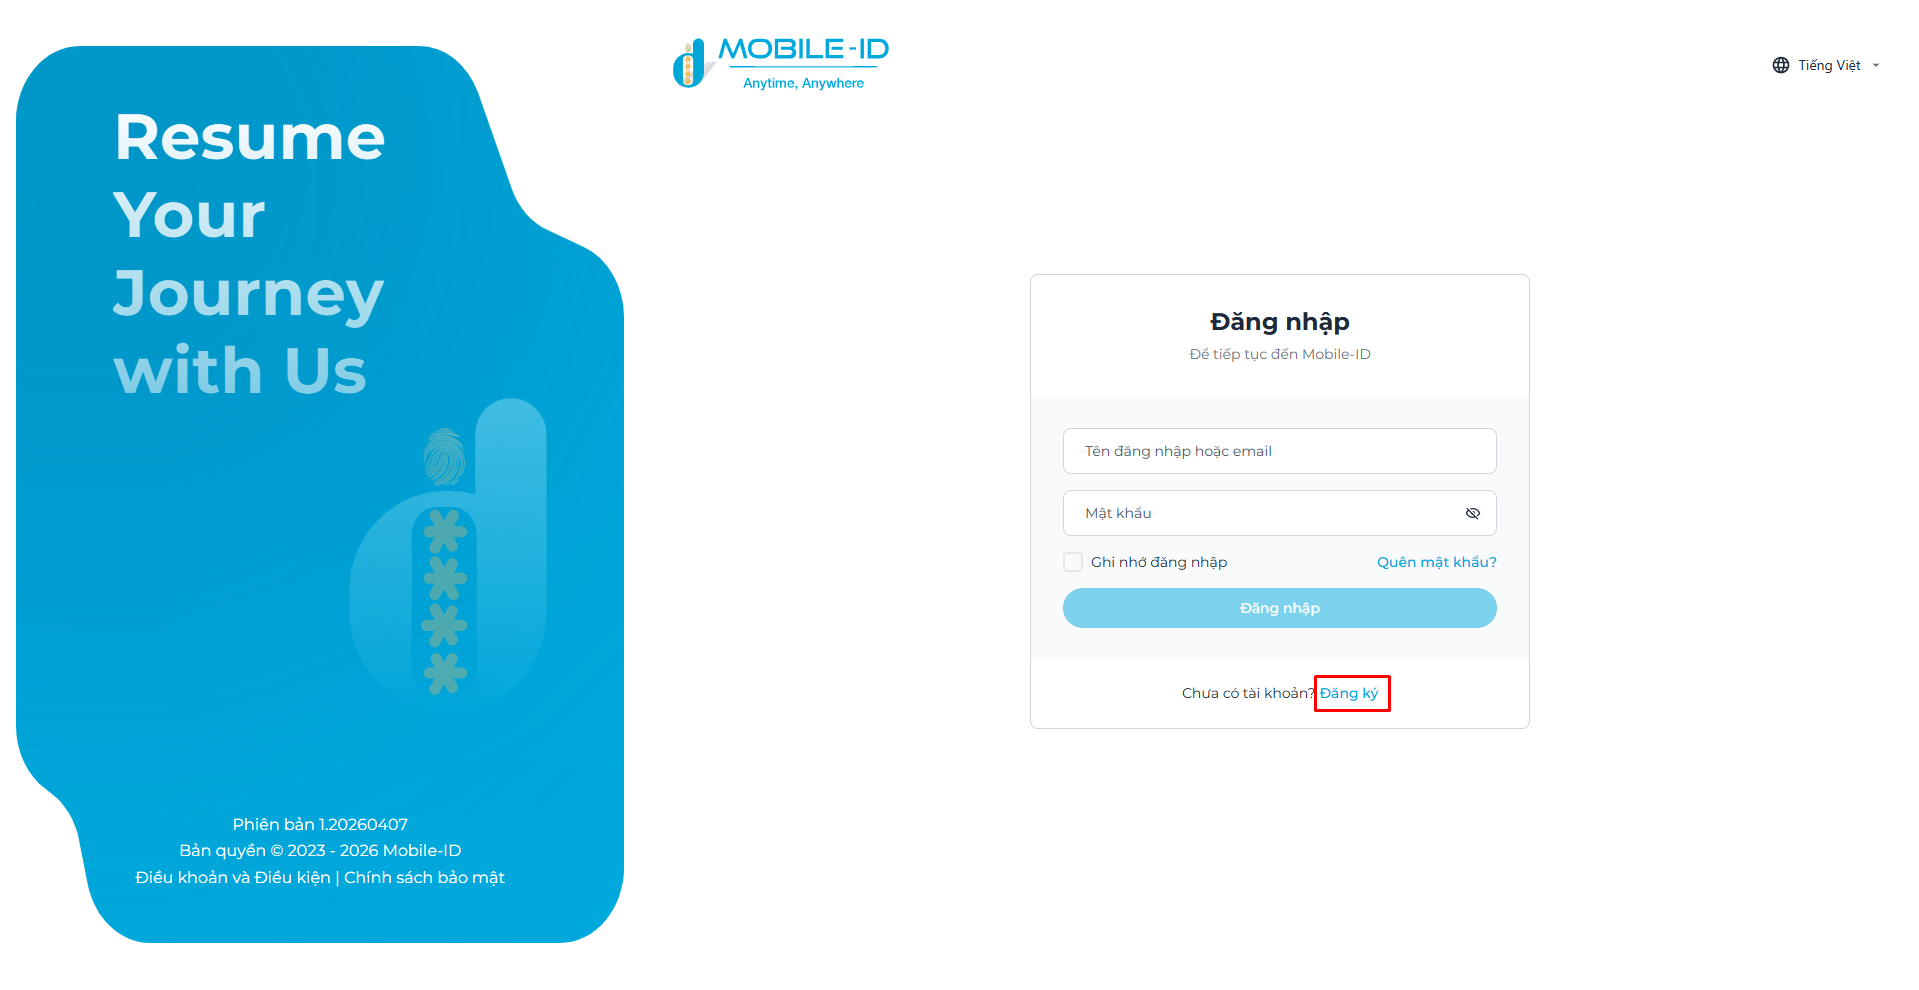
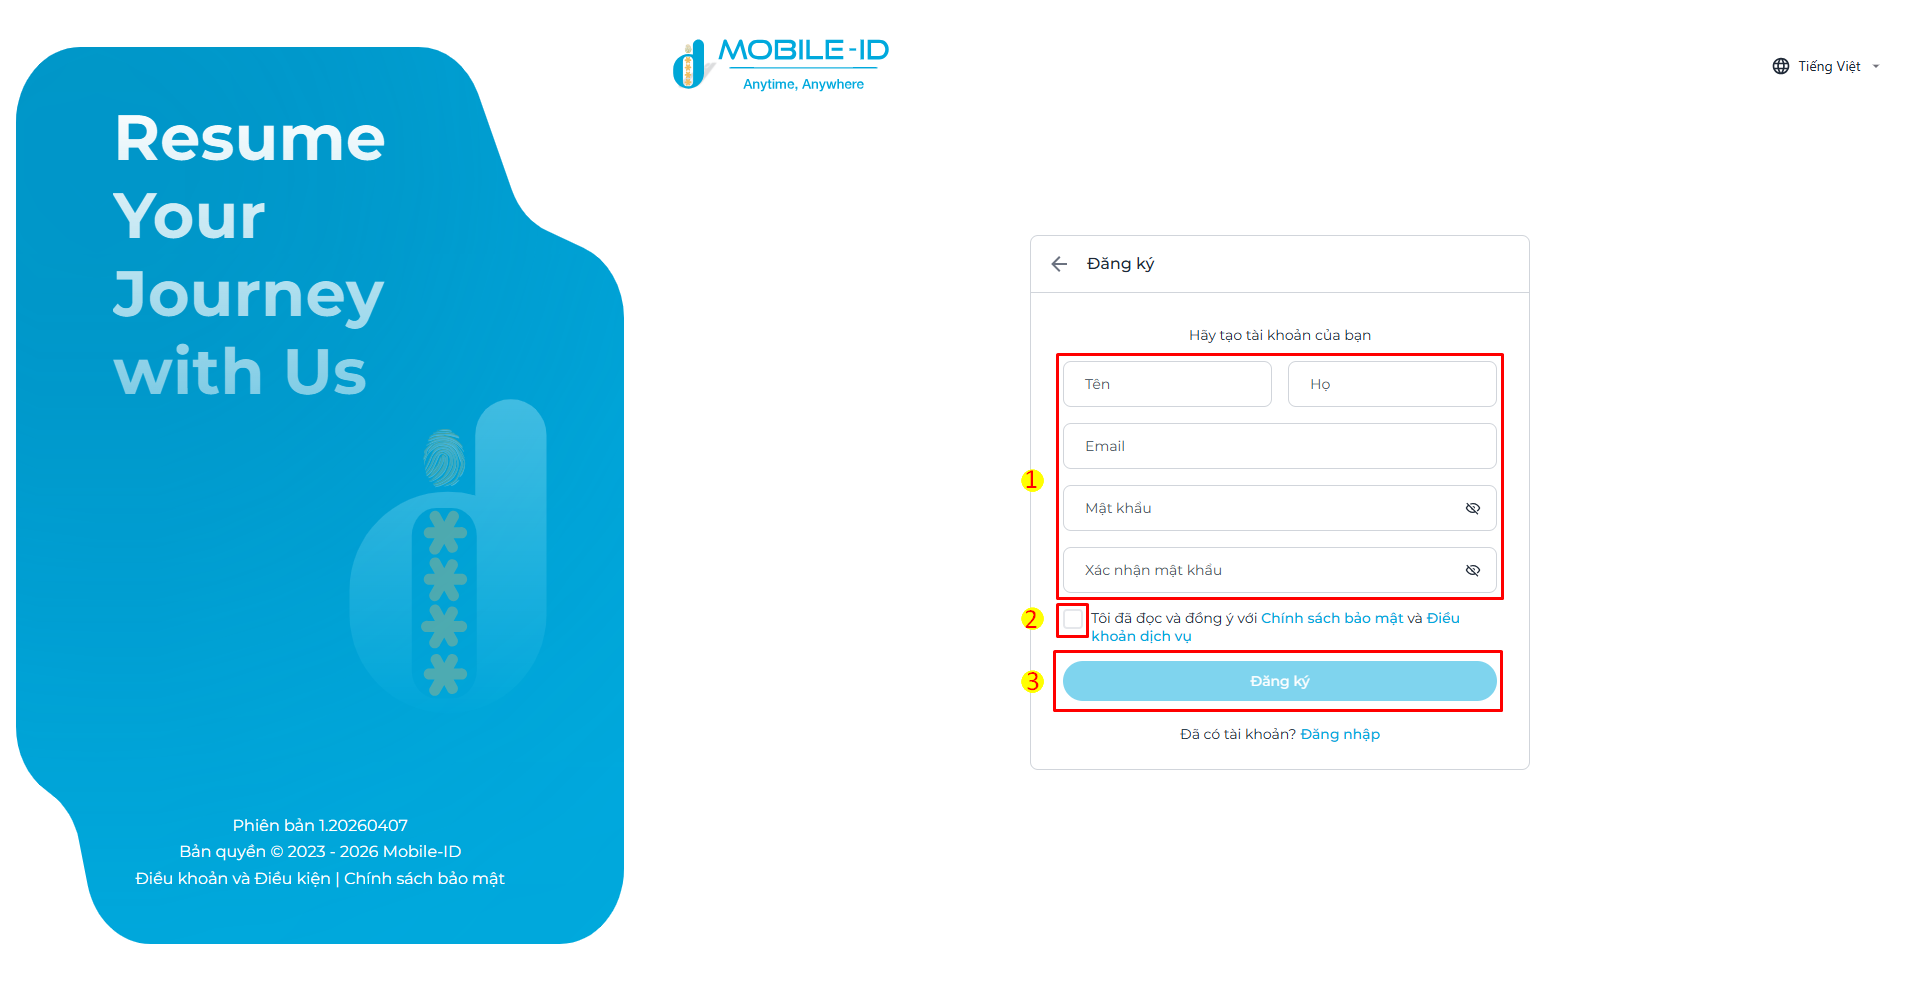
Step 1. Register an account
- New users register a GoPaperless account.
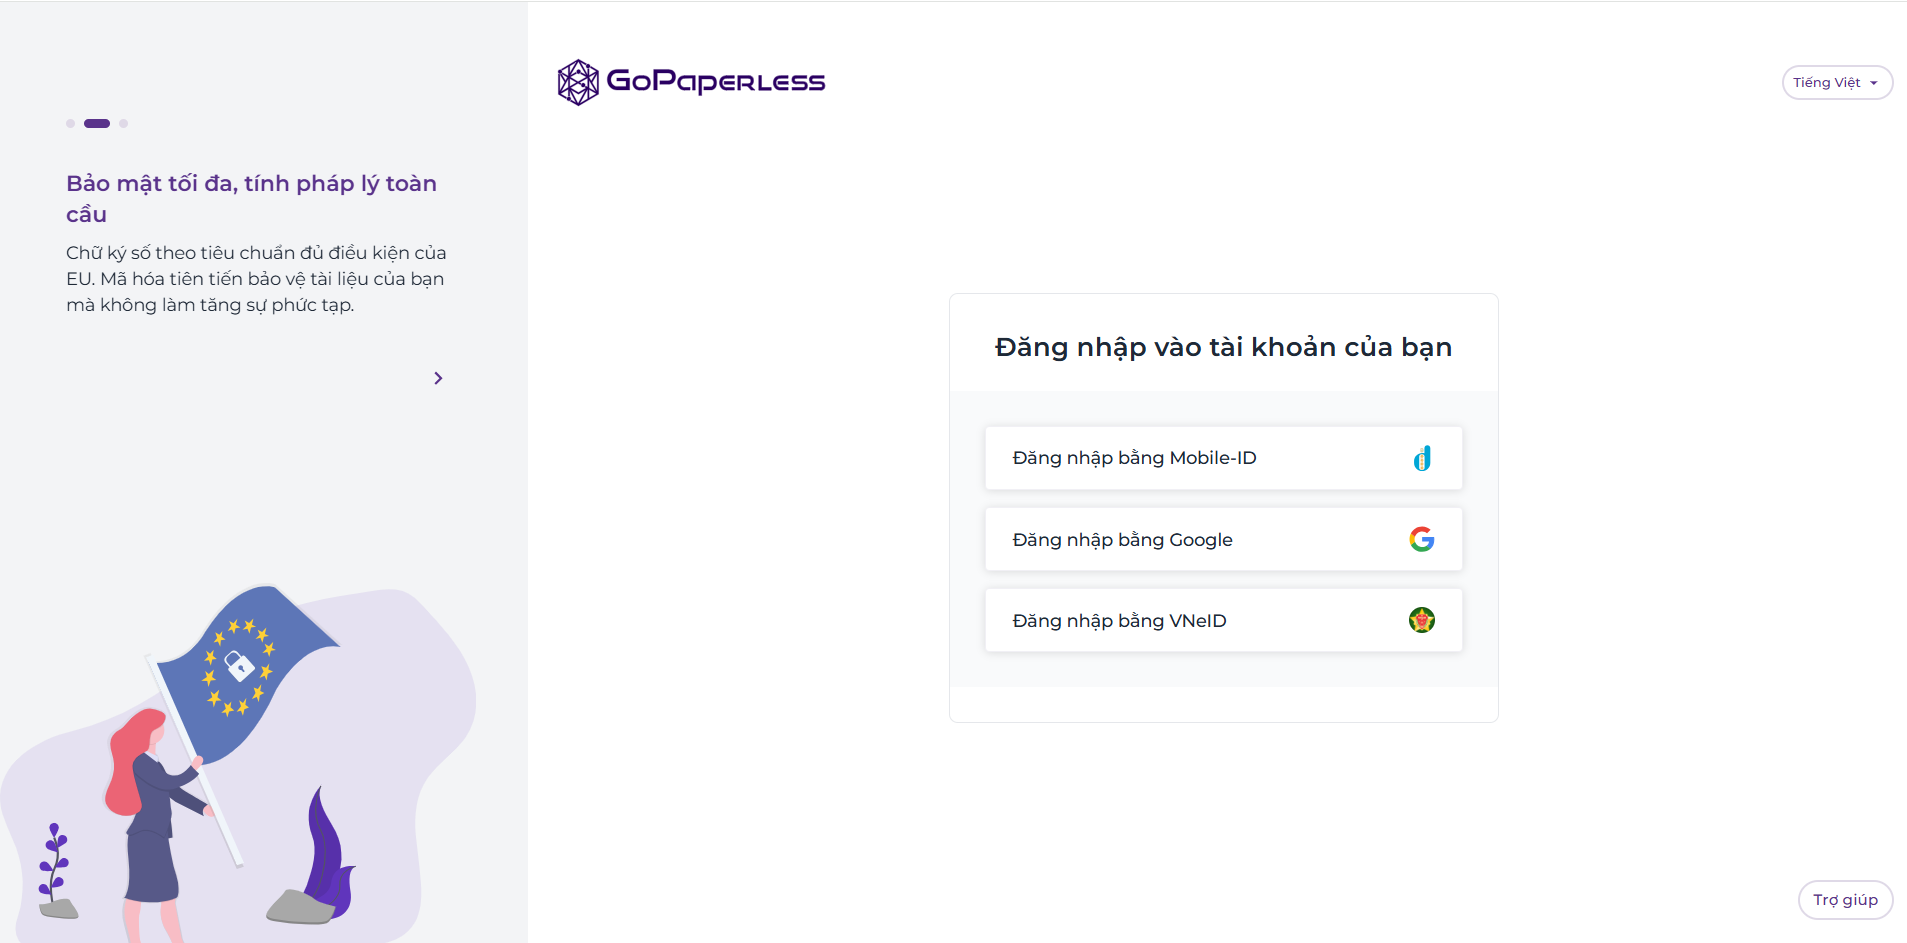
- Sign in to the system.
Master the eContract platform quickly with Quantera's GoPaperless solution user guide. This section compiles a complete collection of intuitive video tutorials, detailed step-by-step visual guides, and clear explanations of every core feature. From new hires to senior managers, anyone can easily find topics tailored to their business needs to ensure a smooth, accurate, and seamless digitization process.
New users create an account, share information via VNeID, choose a plan and complete payment before using the service.
Step 1. Register an account
Step 2. Share information via VNeID
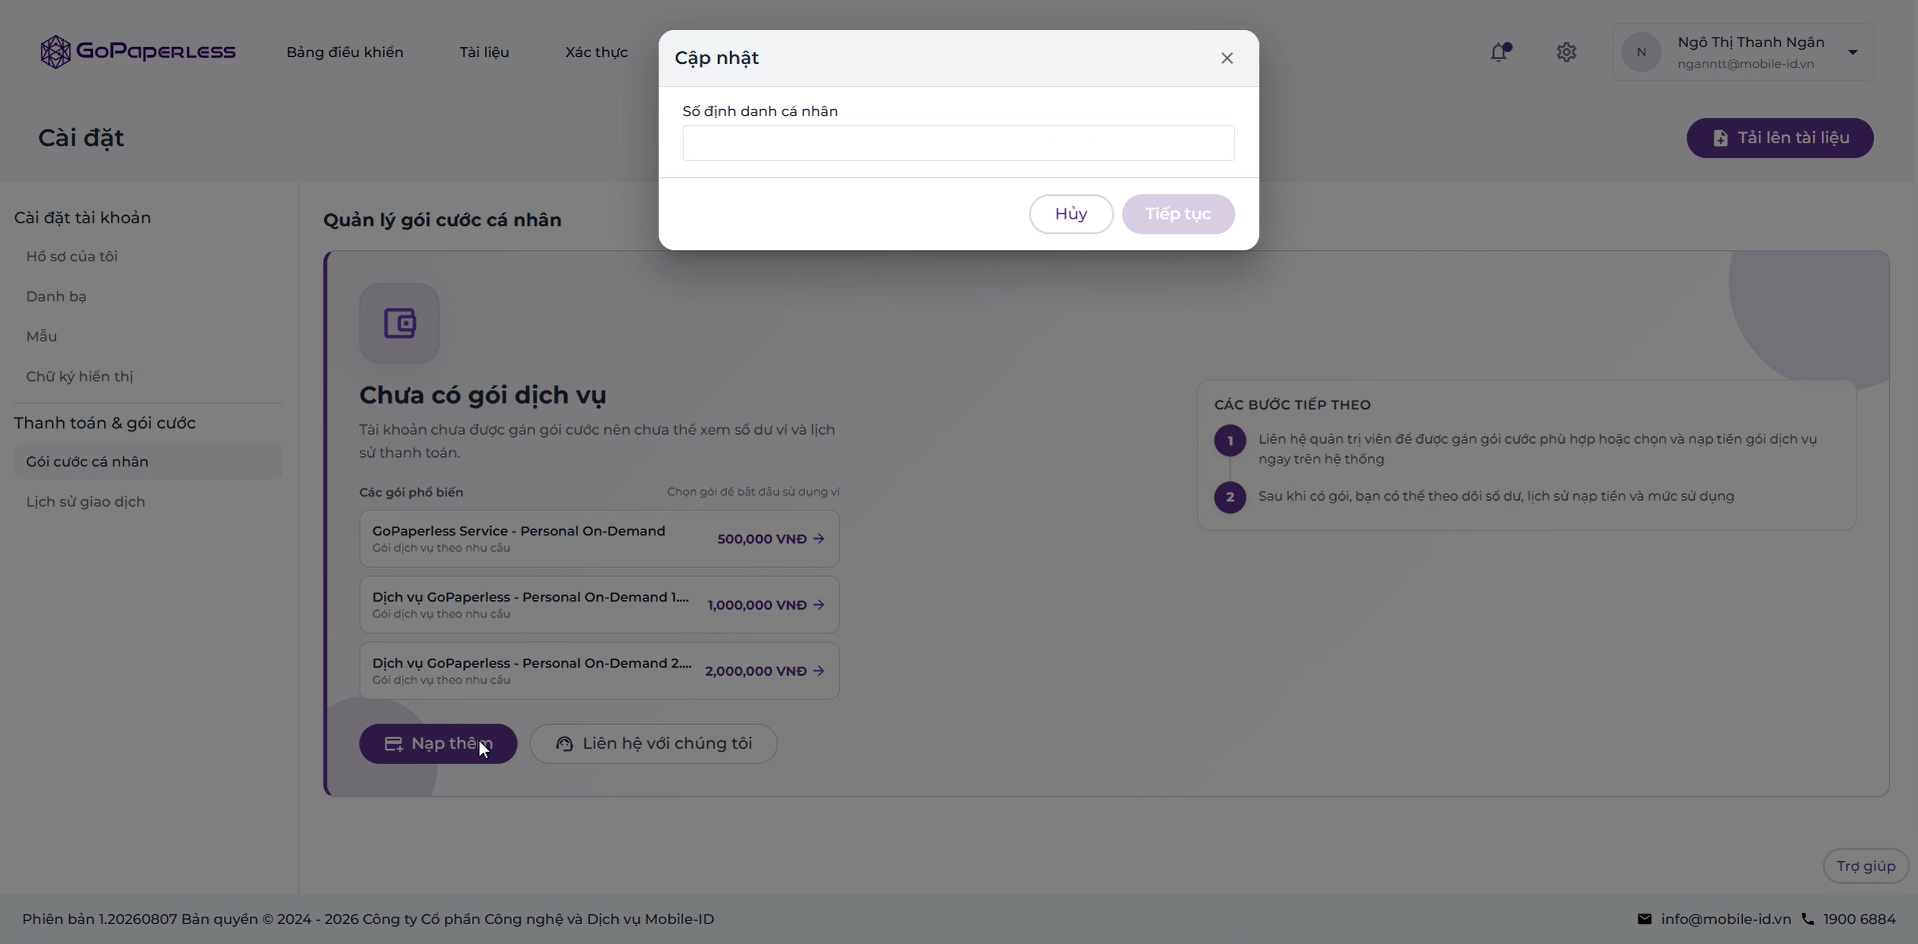
Step 3. Buy a plan / top up
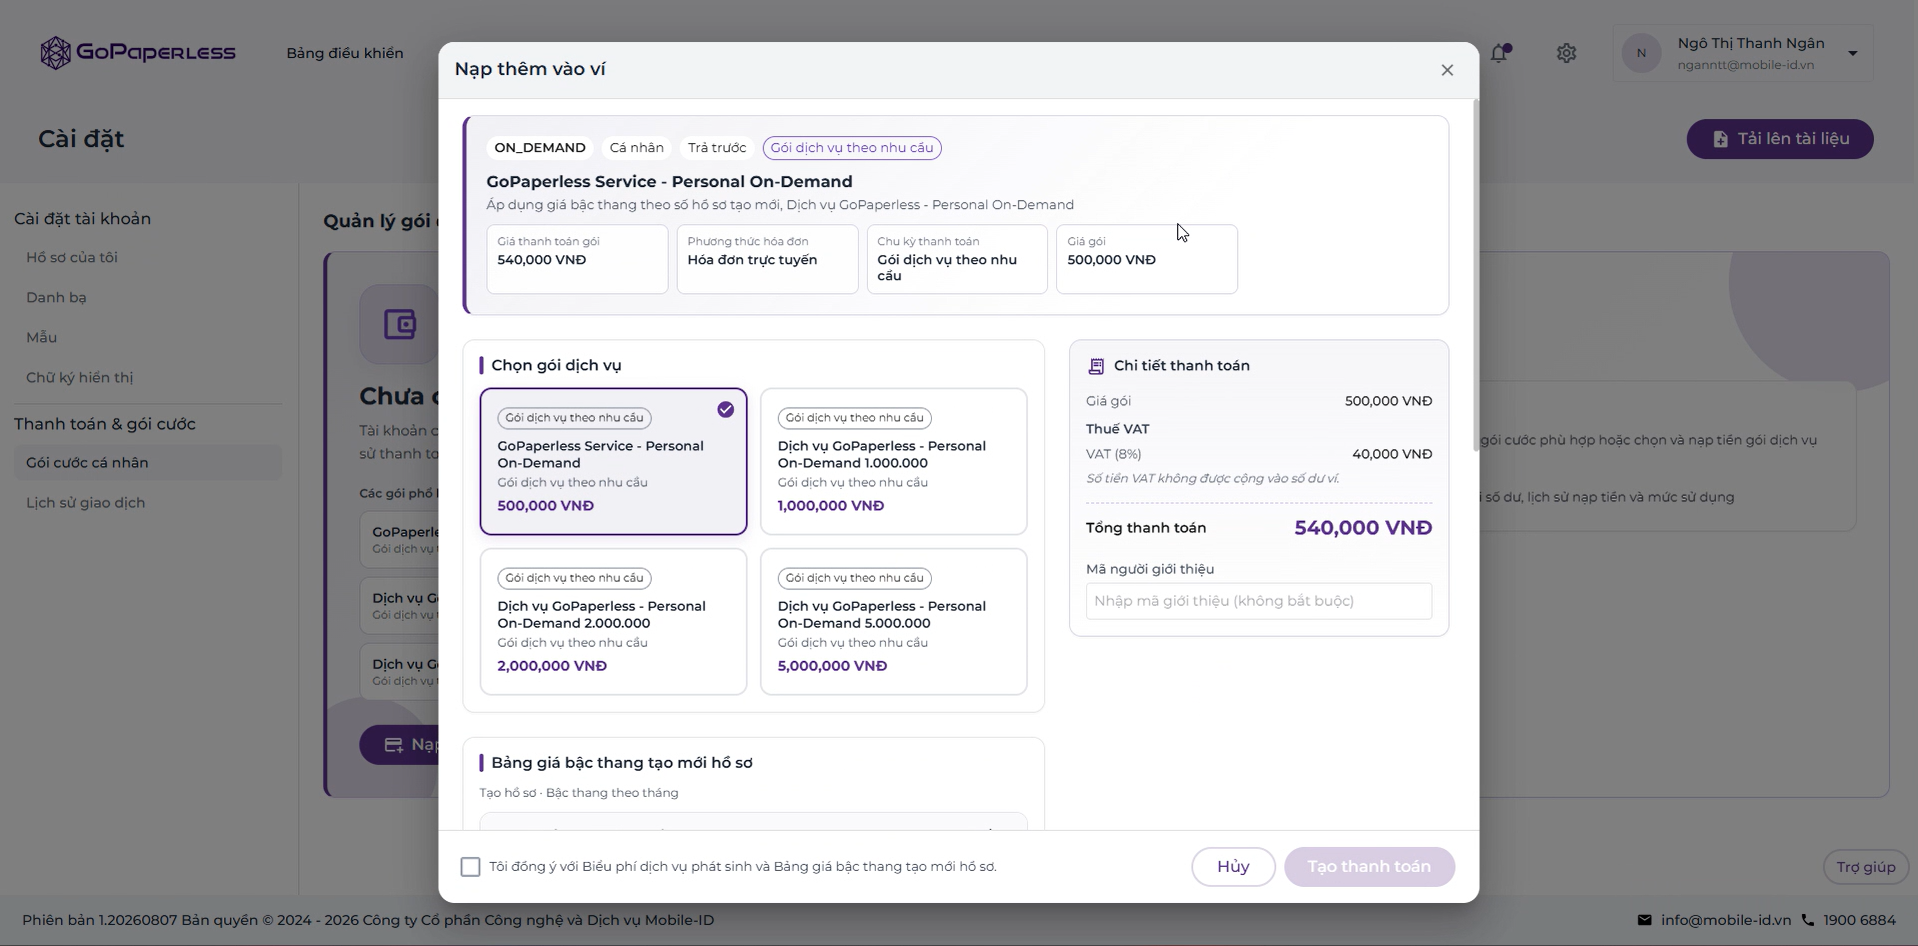
Step 4. Payment
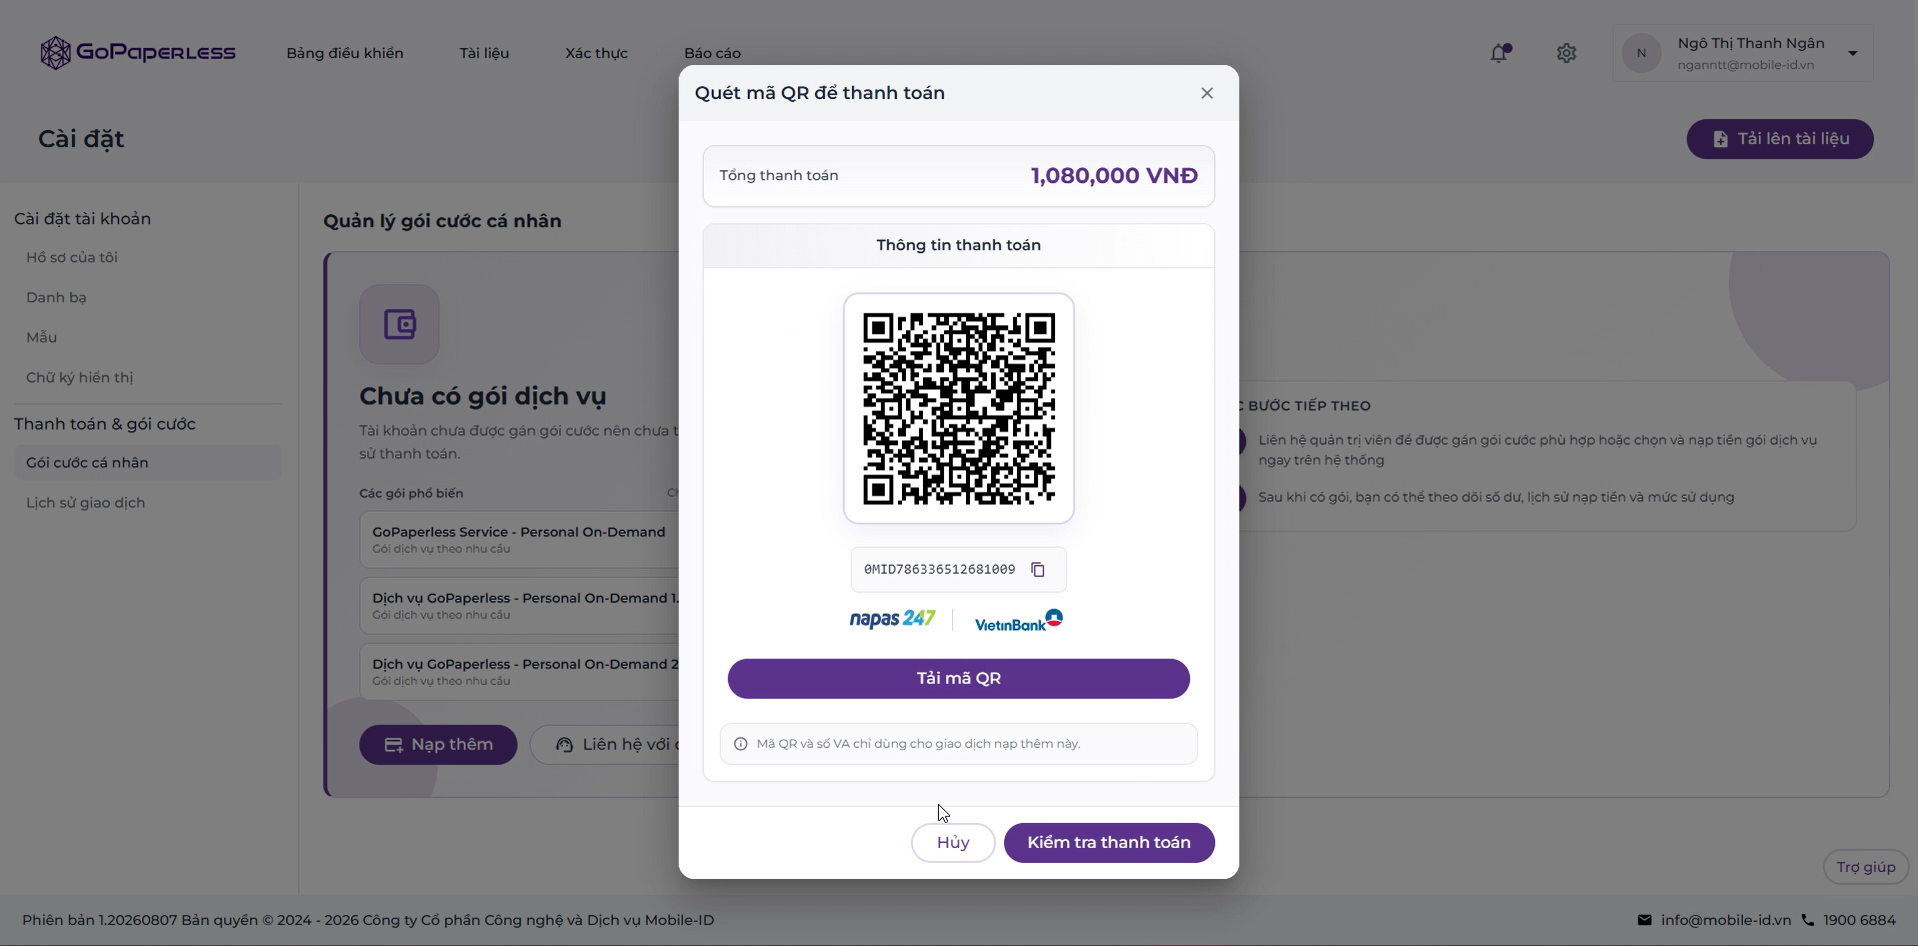
Step 5. Payment confirmation
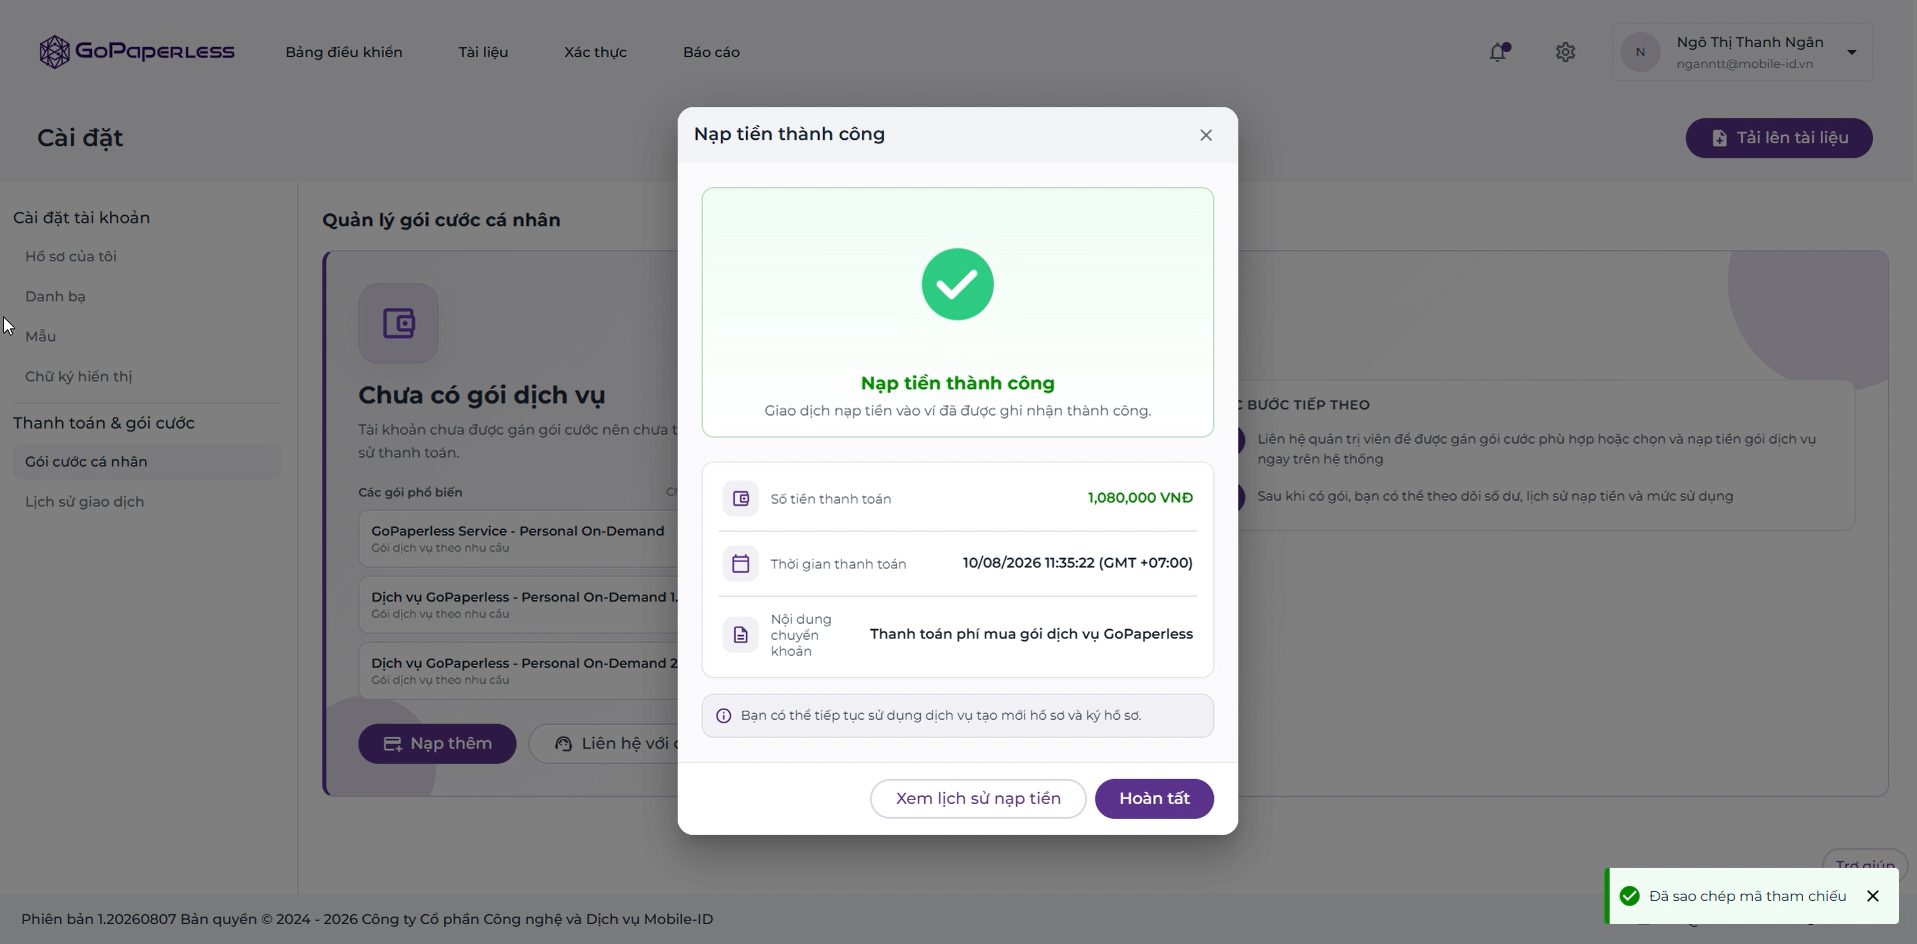
Step 6. Complete
Basic contract setup
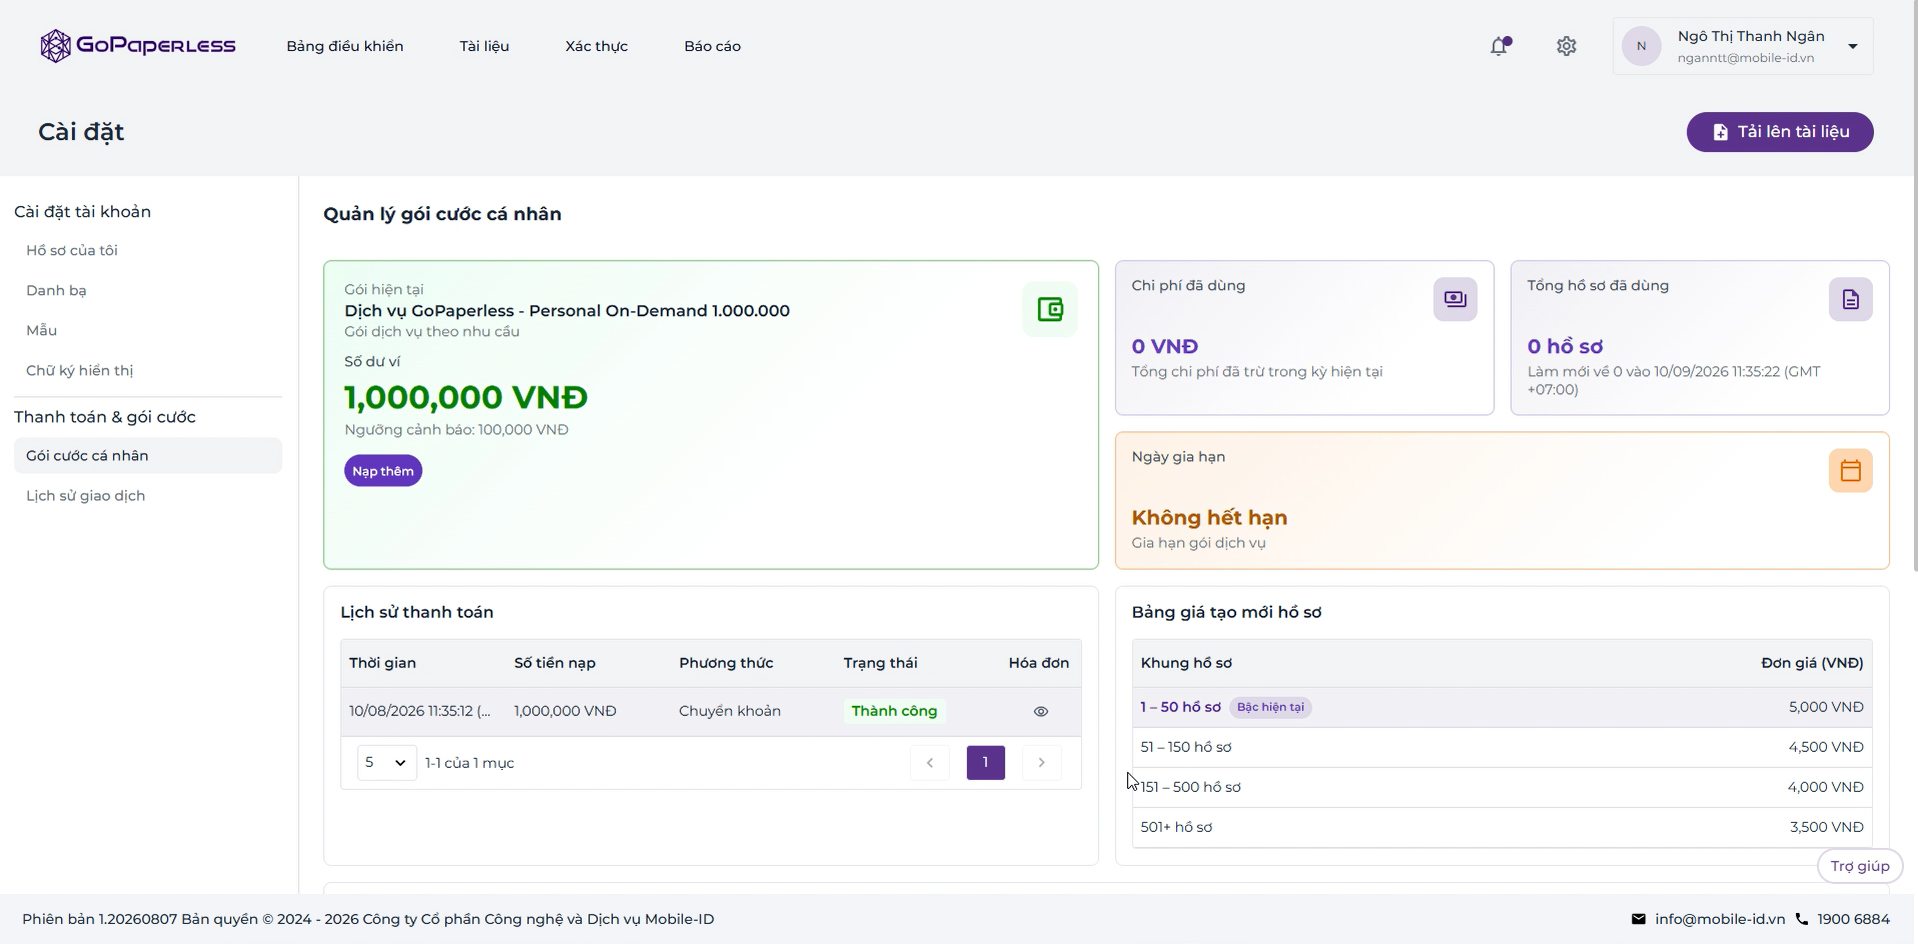
Step 1: On the menu bar, select Documents.
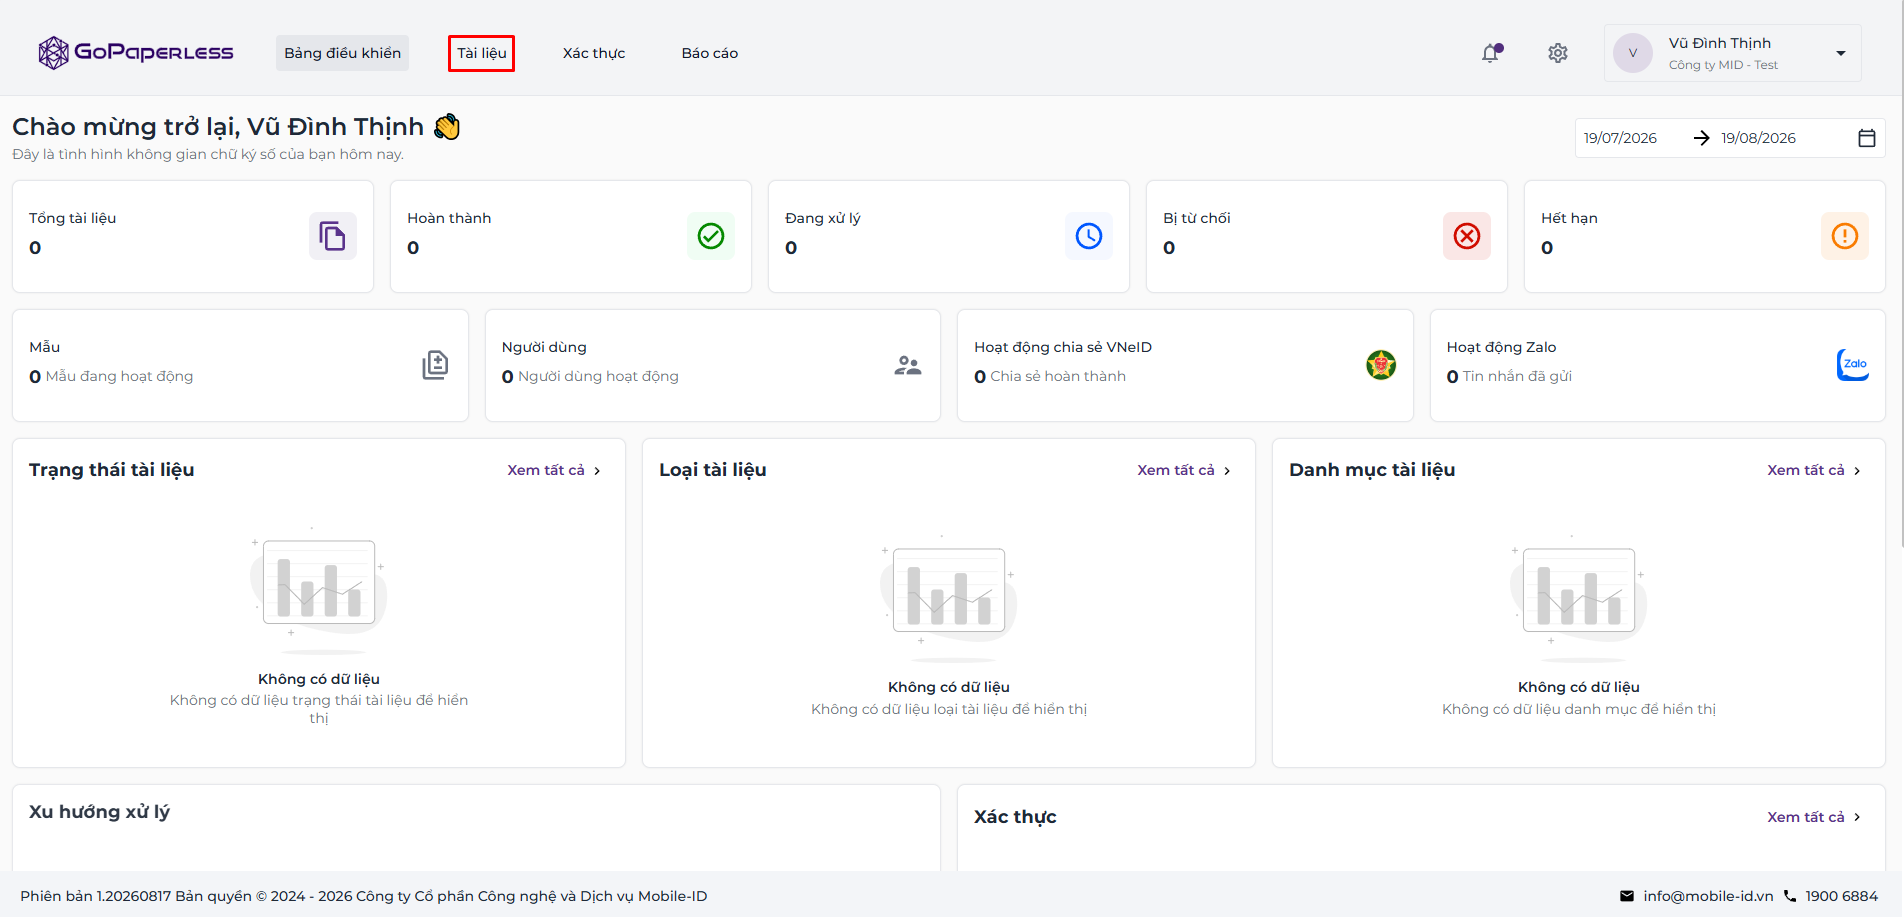
Step 2: Click Start to open the new document setup screen.
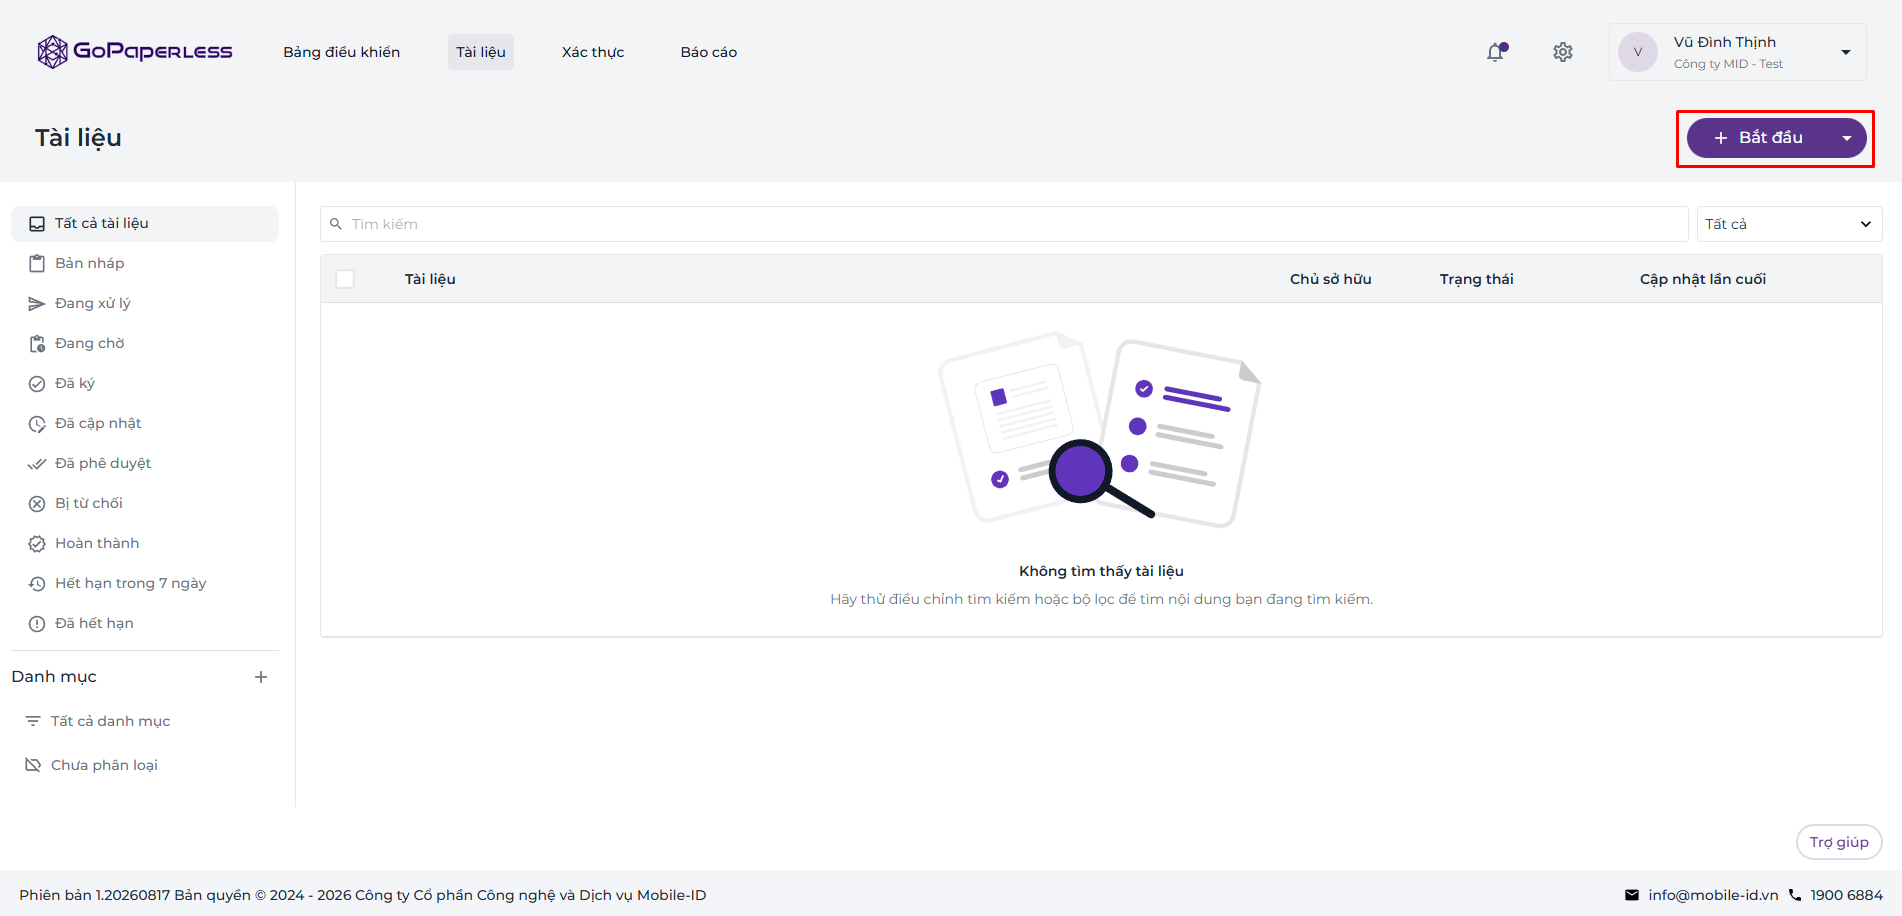
Step 3: Under Upload document, there are two ways to upload the file to sign:
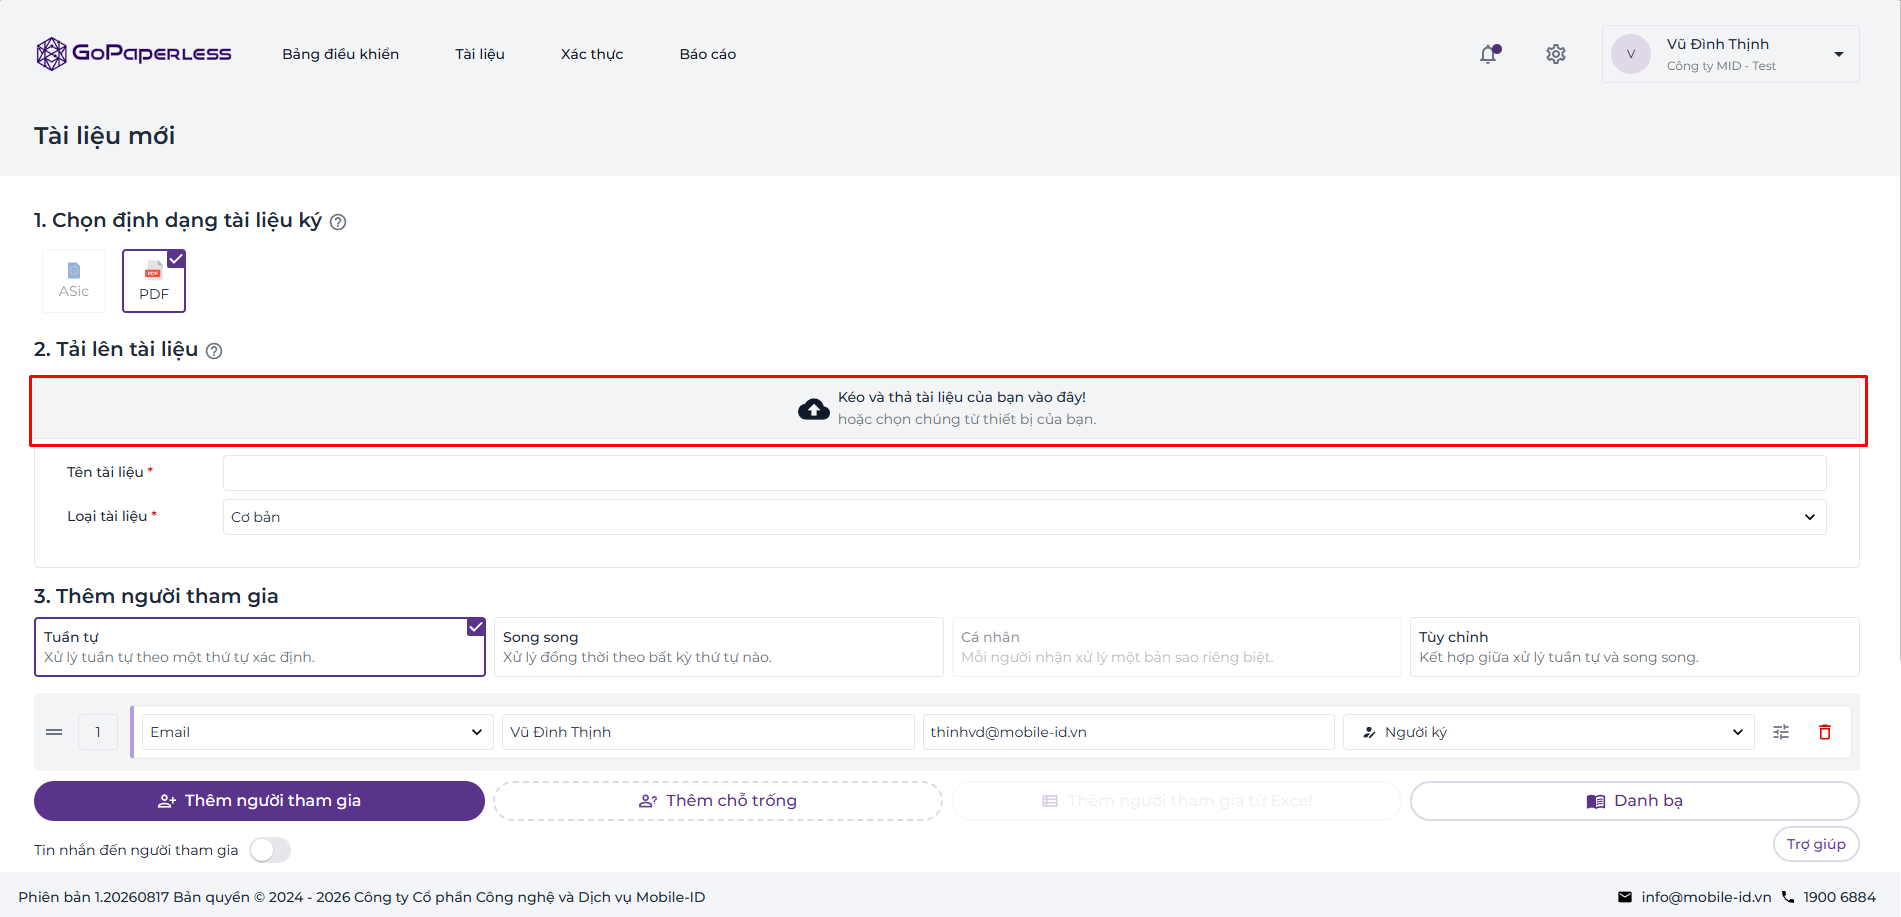
Step 4: Depending on your needs, choose one of the four workflows:
The document is sent in recipient order (the next person is notified only after the previous person has finished).
All recipients receive the document at the same time and work independently, without waiting for each other.
The system creates a separate copy for each recipient, each person's progress is independent.
Combines sequential and parallel (divided into ordered groups; individuals at the same tier or sequence process tasks in parallel before advancing to the next tier).
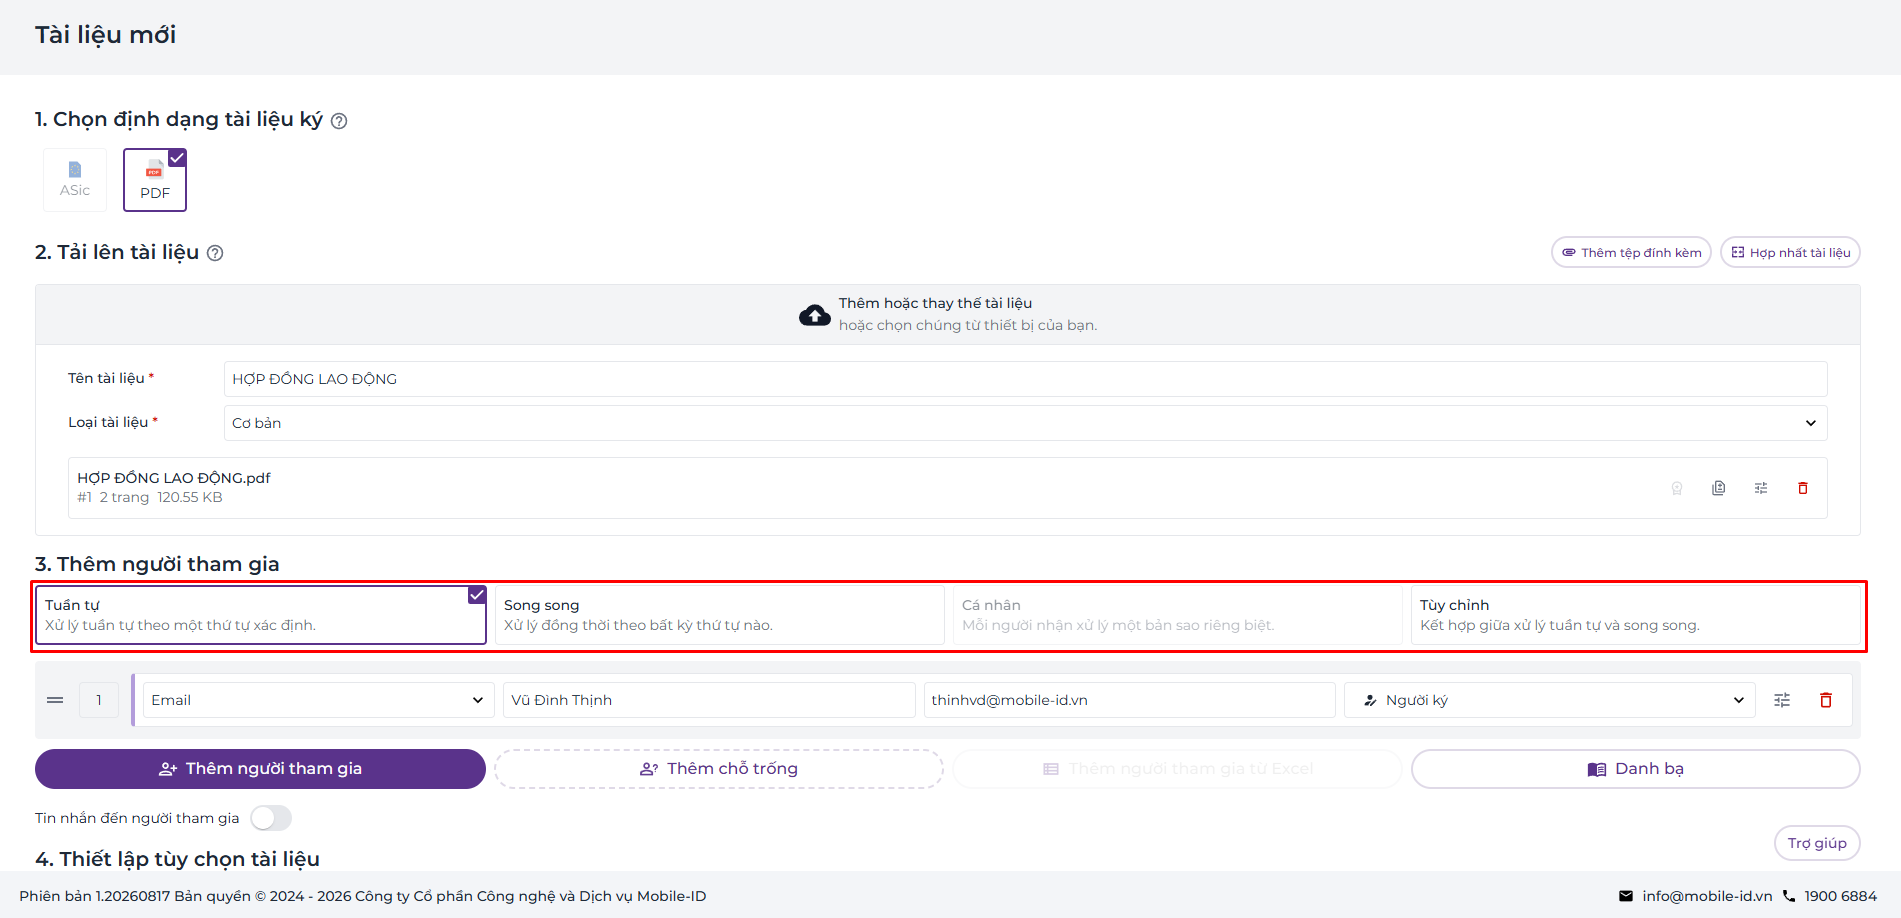
Step 5: After choosing a signing workflow, click Add participant to add a participant and edit their details.
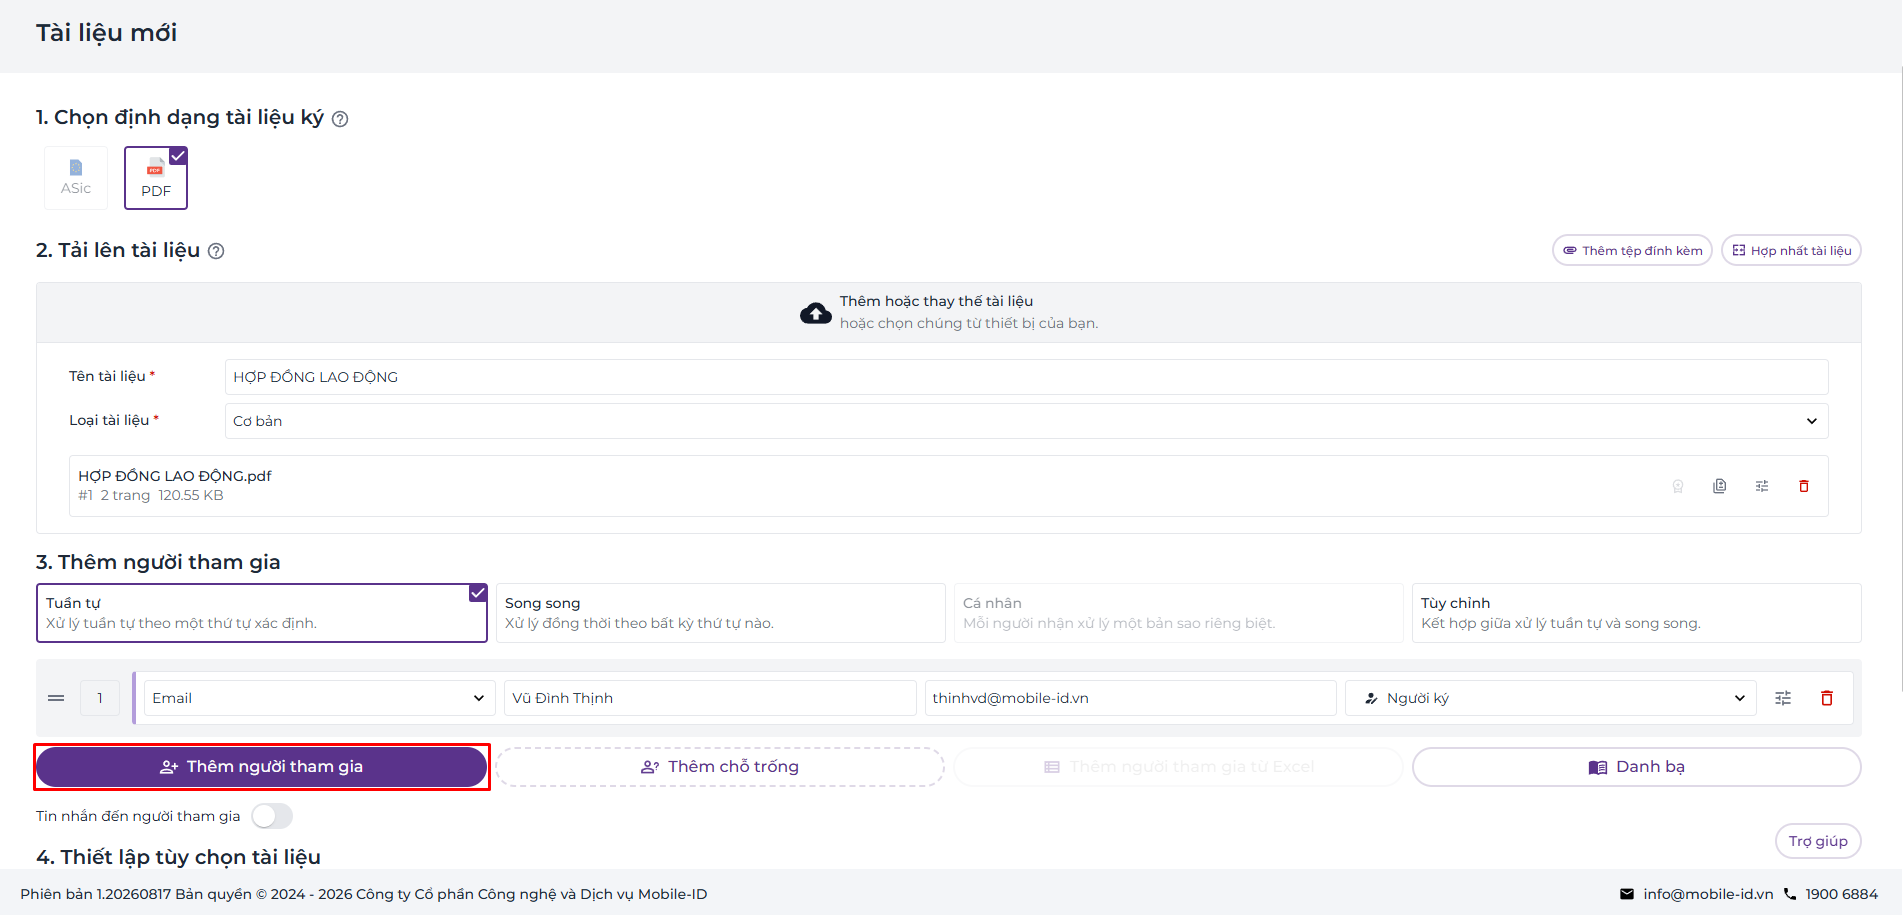
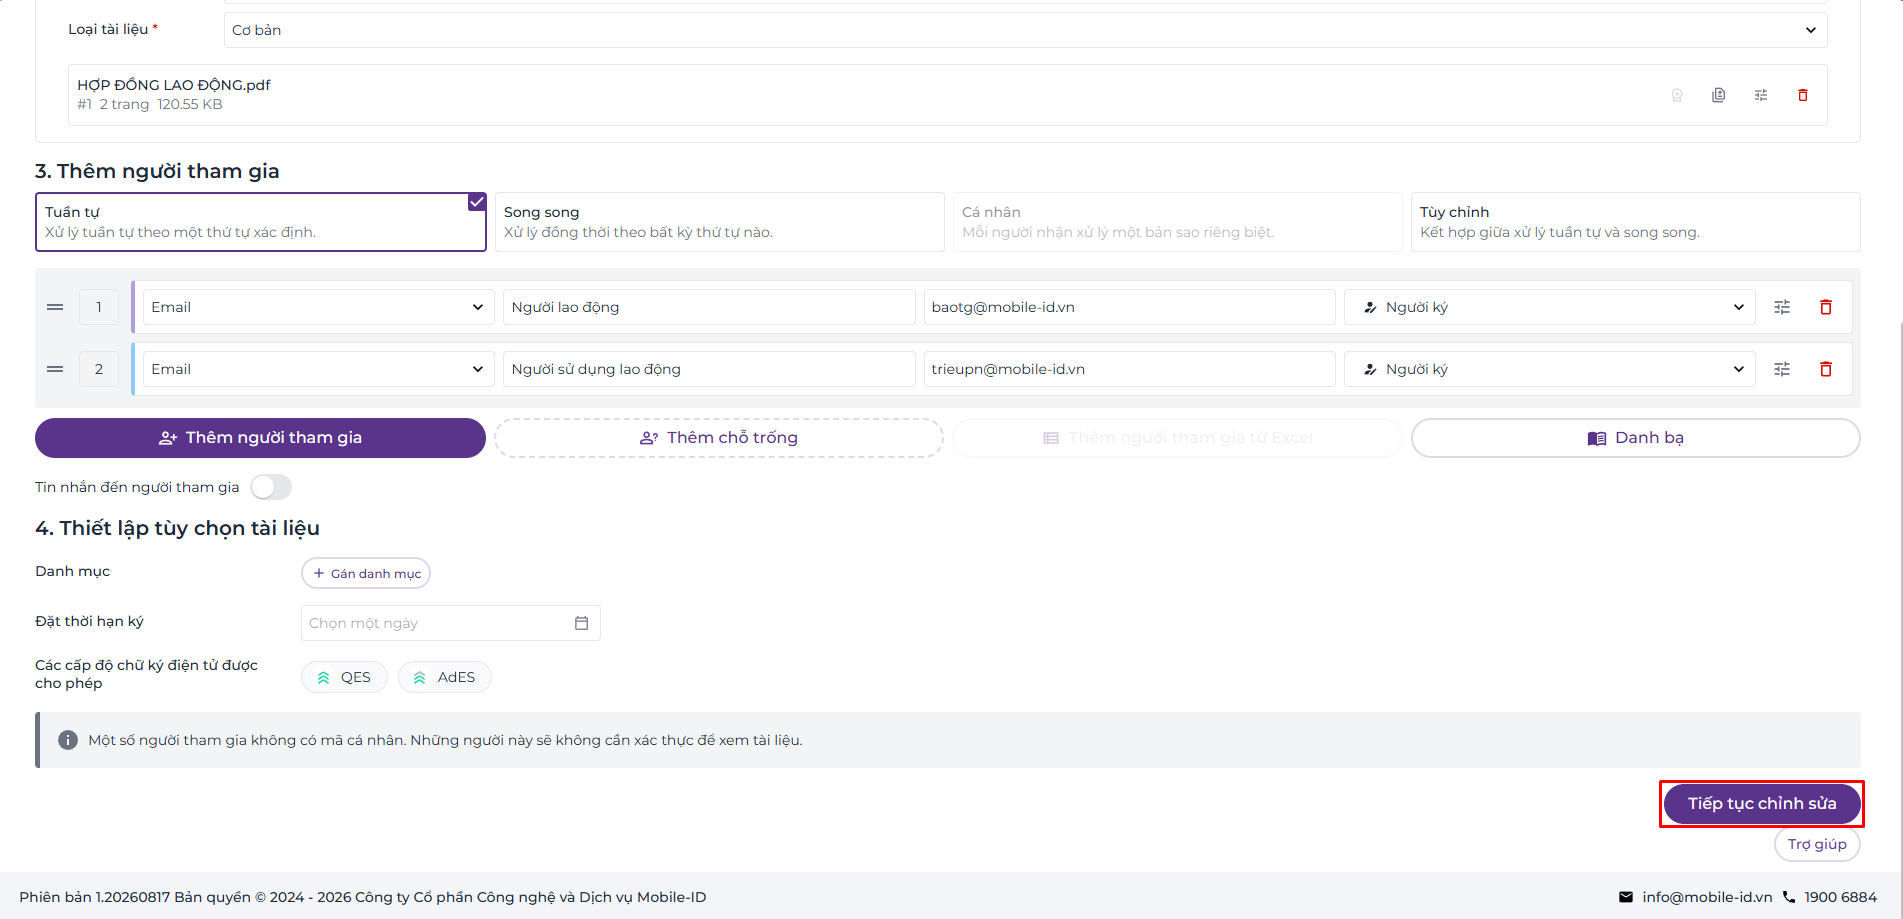
Step 6: Configure optional document settings if needed:

Step 7: Click Continue editing to draft the contract document.
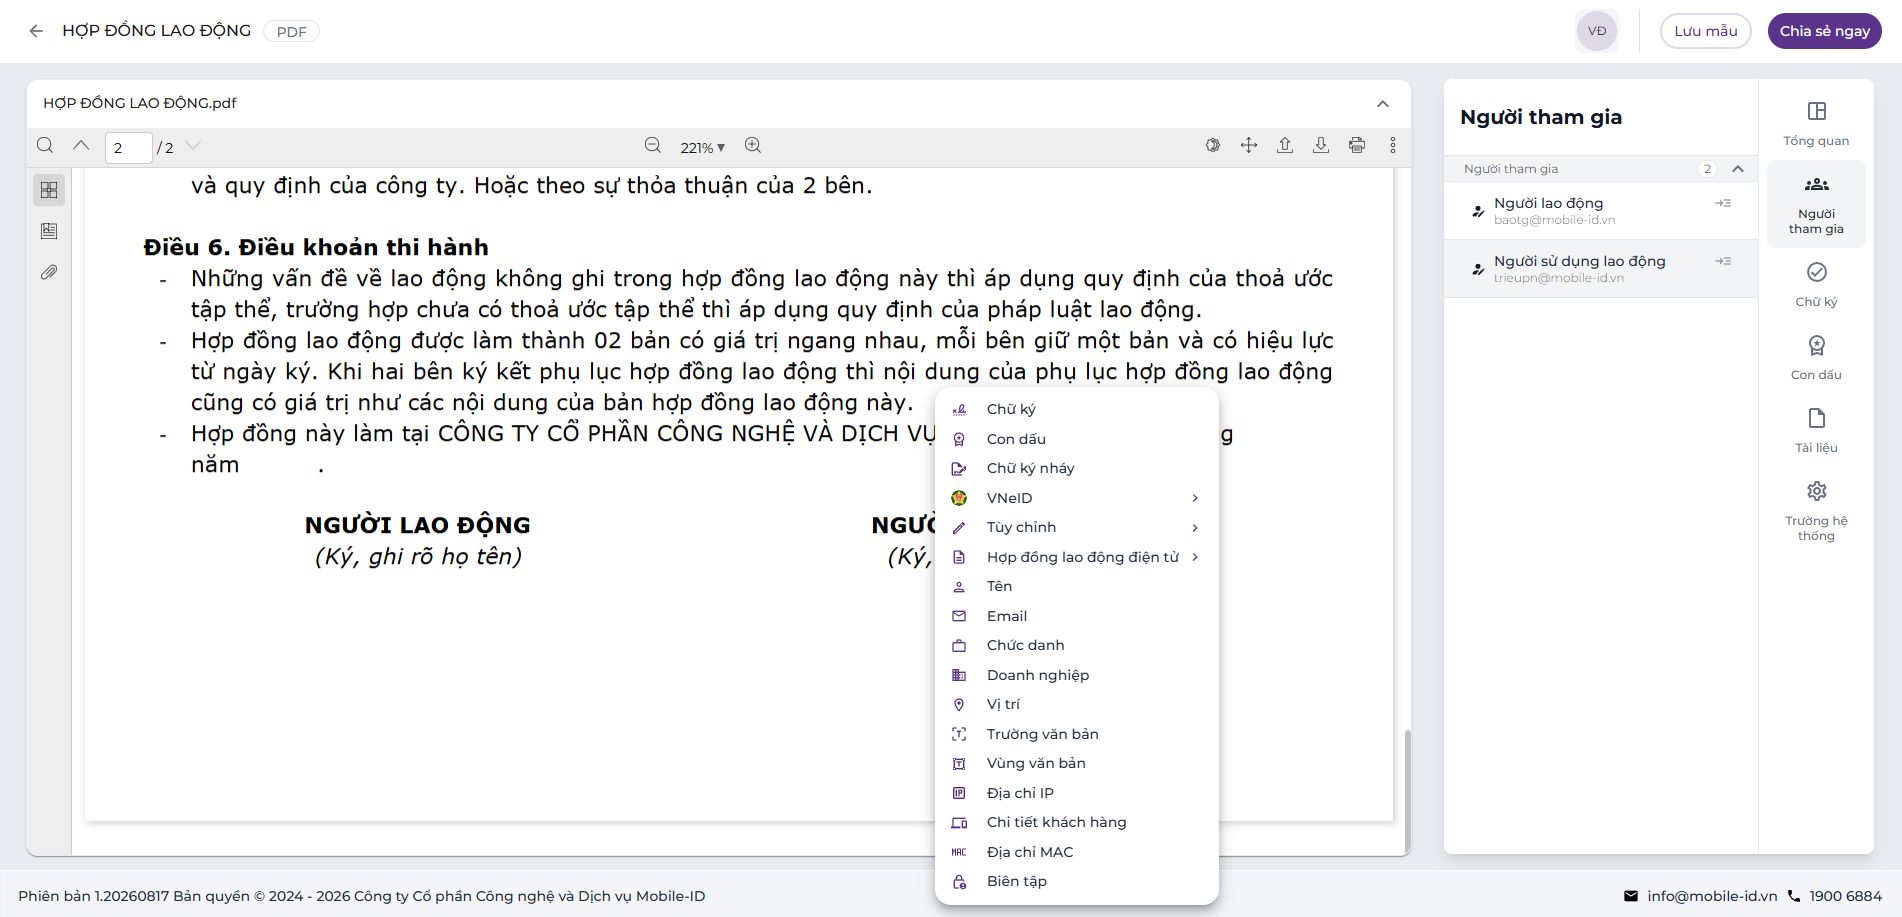
Step 1: Under Participants, select the participant who needs data fields added.
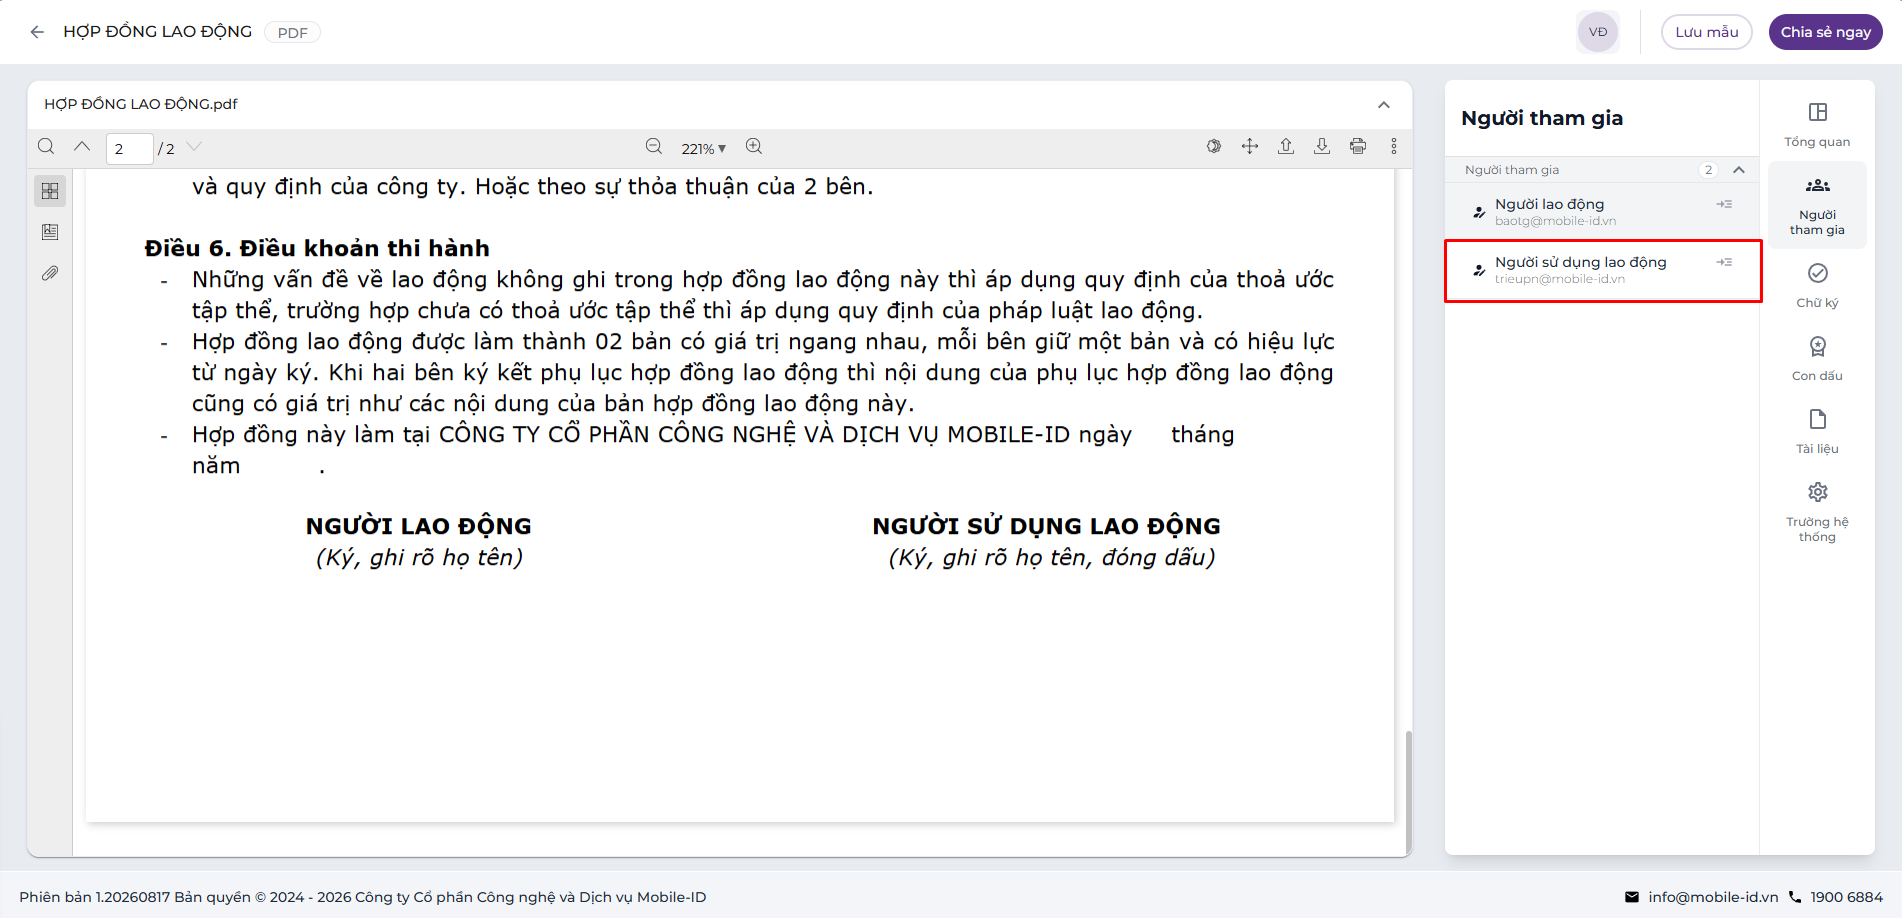
Step 2: On the document file, right-click where you want to add a data field and add the required field.
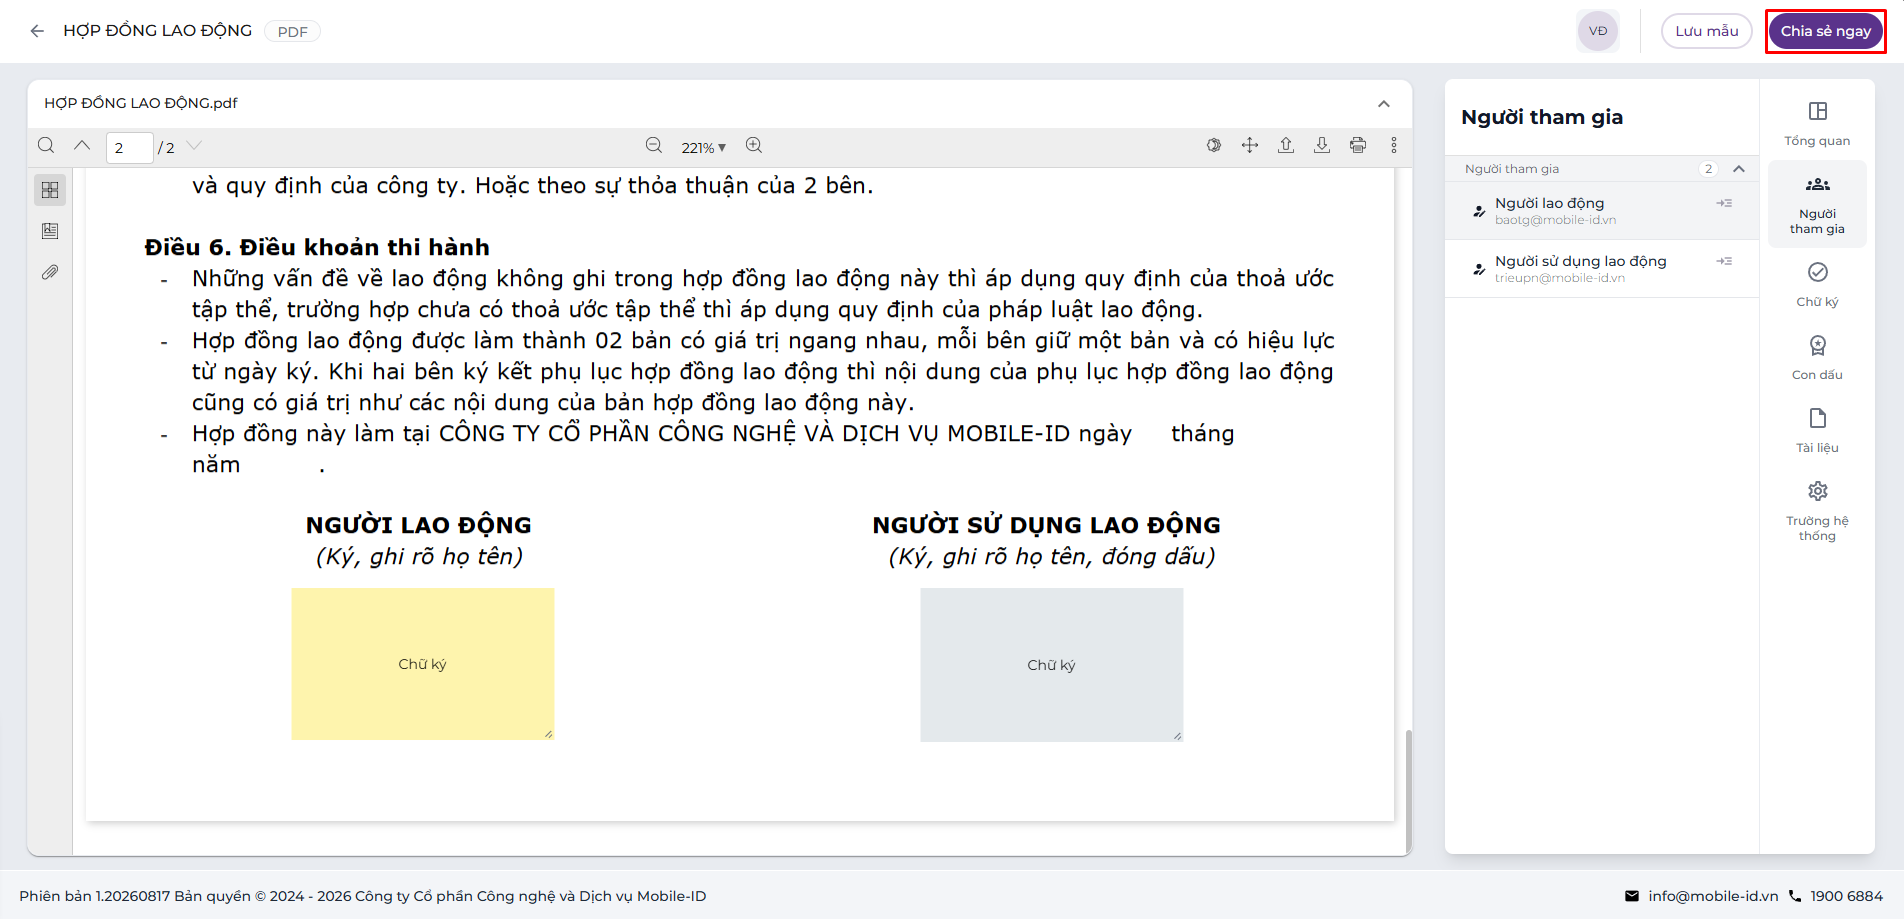
Step 3: After adding the required fields, click Share now to send the contract to participants and complete drafting.
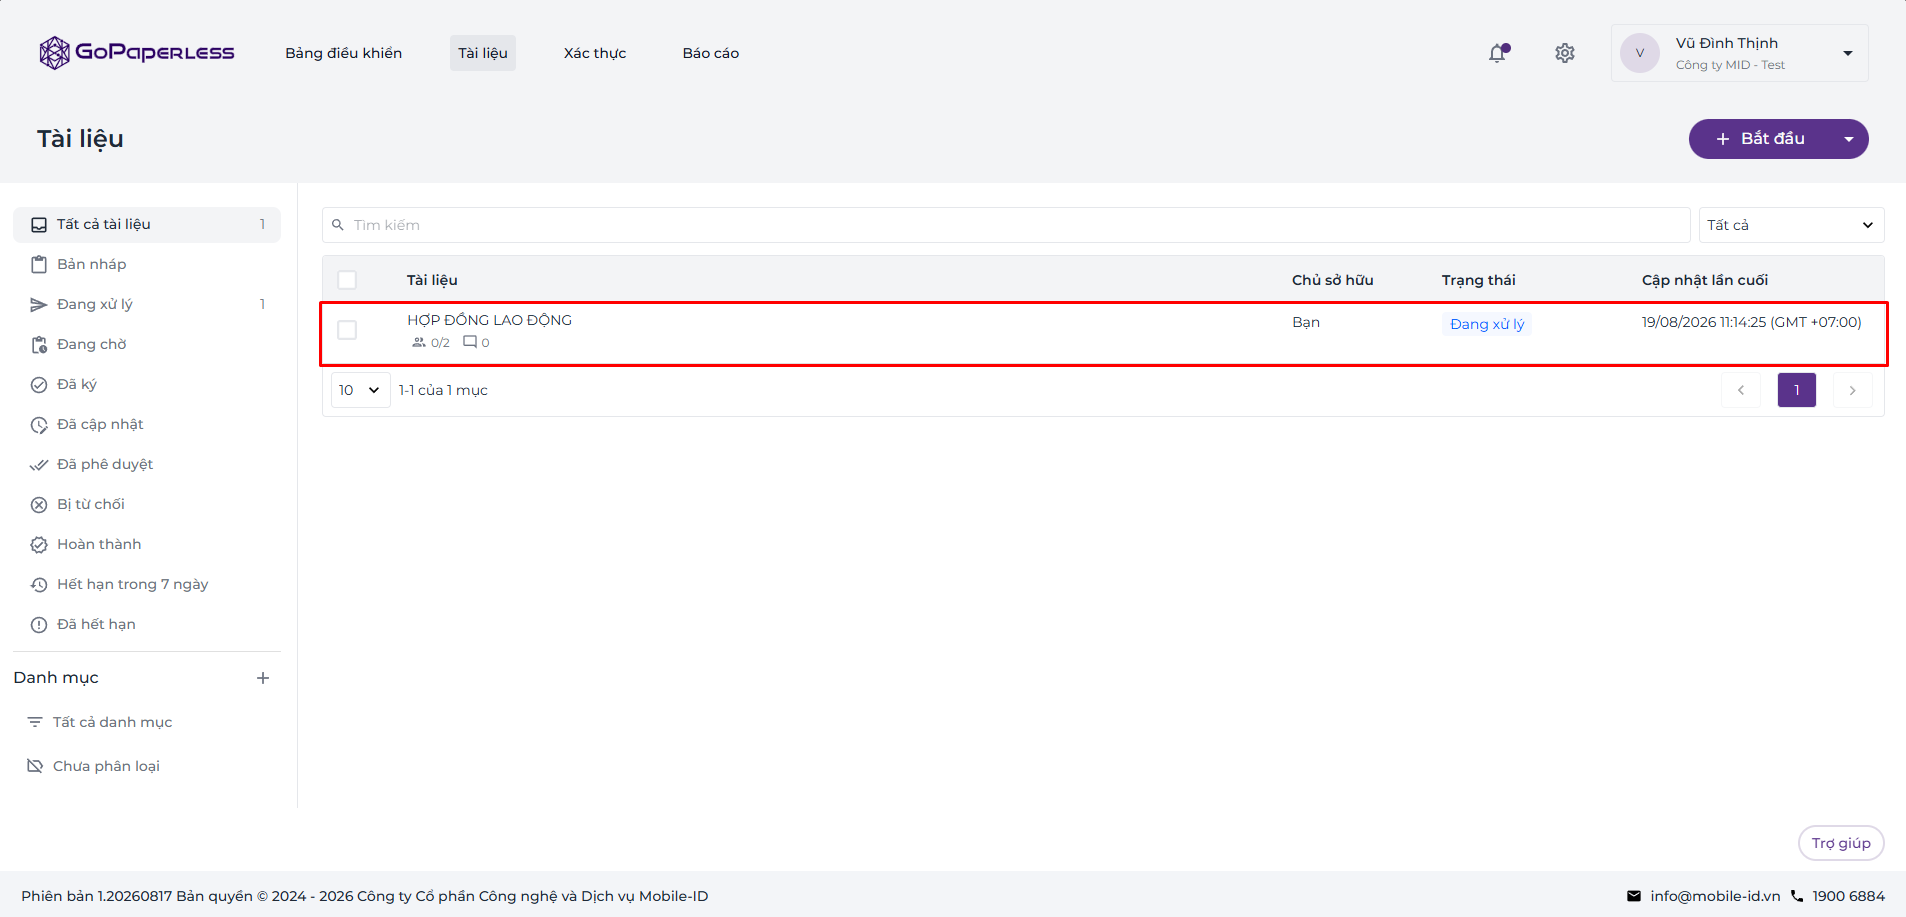
After publishing the document, the creator can track processing progress and signing status in two ways:
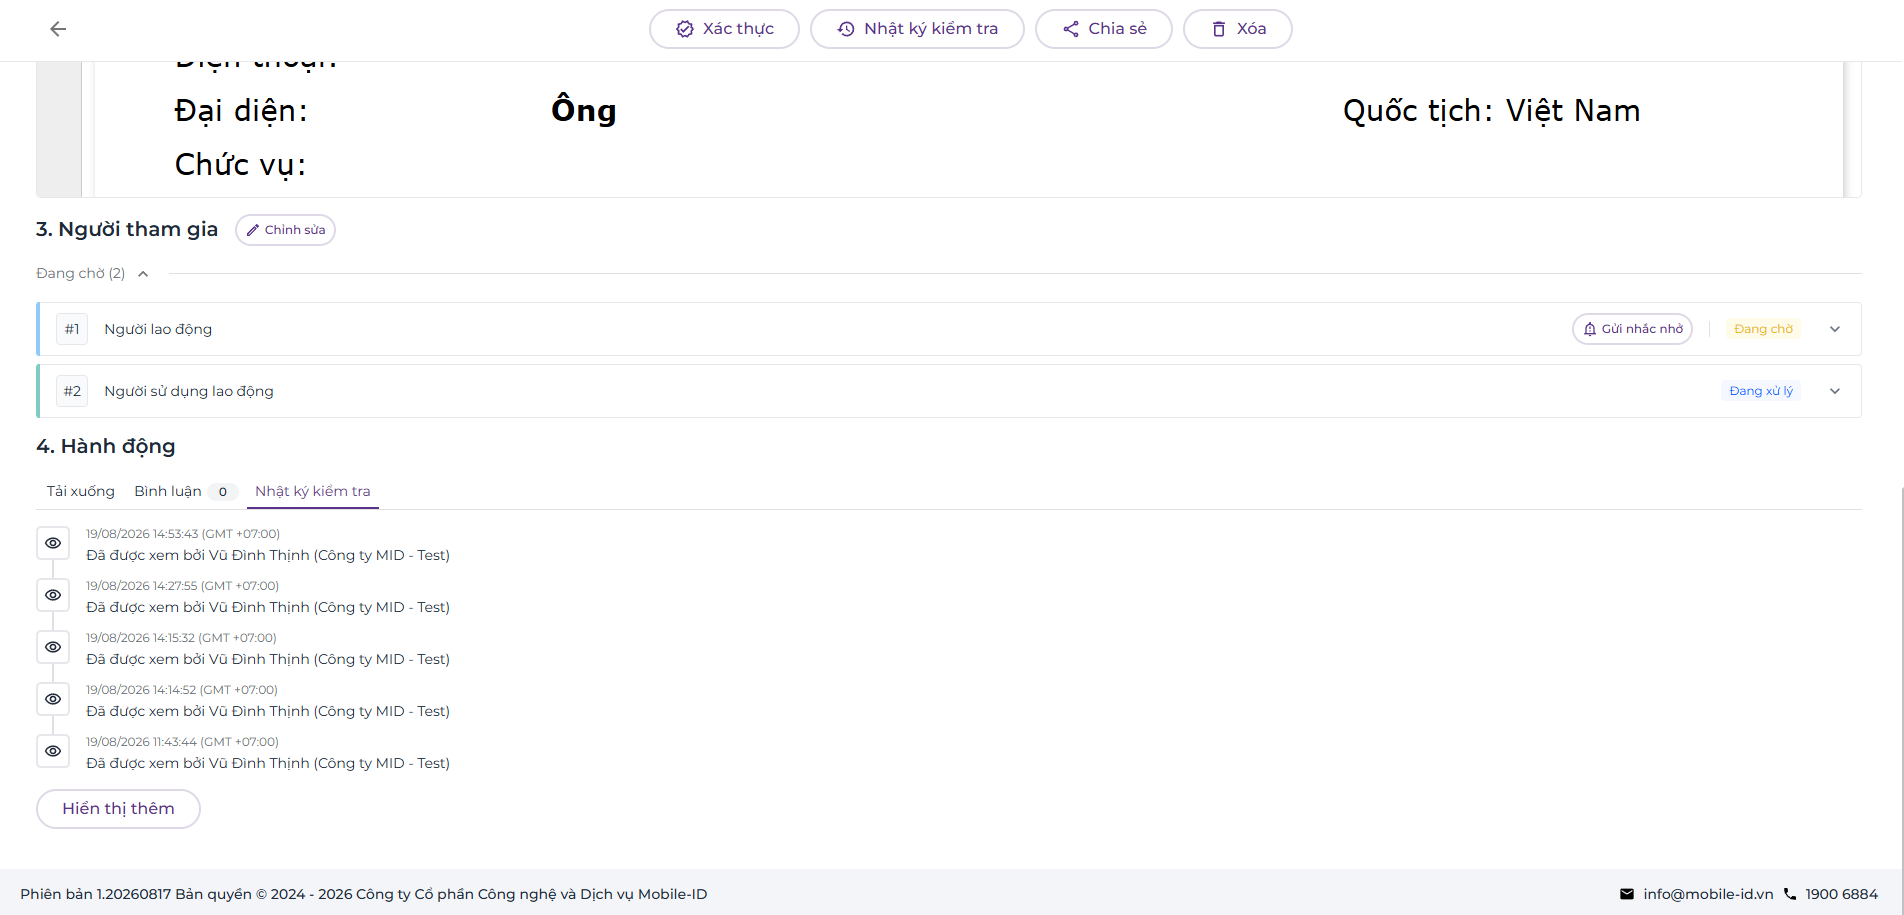
Method 1: Track an overview of the file on the Documents page.
Method 2: Track details in Audit log: open the document name to view the detail screen. Scroll to Actions and select the Audit log tab (or the Audit log button at the top) to see timestamps for each action (who viewed it, when, and when it was signed).